Table of Contents
Abstract
How you quickly get your pictures to your computer, assuming somebody has already set up everything correctly.
This chapter assumes that somebody has set up your system
correctly for use with
libgphoto2. This is
something the packages from your system vendor
(RPM packages, DEB
packages or BSD ports) and/or your system
administrator should already have done for you. If not, follow
the instructions in the chapter on
permission setup
first.
FIXME: We need examples using RS232 cameras and the gphoto2 shell.
FIXME: gtkam docs under construction. Please report errors,
omissions, and constructive suggestions about the gtkam
documentation to [ michael dot rensing at shaw dot ca ]
Abstract
gtkam is a graphical front end for the gphoto2 library. It does not communicate directly with the camera, but uses gphoto2 to do so. As a result, it is necessary to have gphoto2 installed and running correctly before gtkam will work.
If everything is configured correctly, the following steps should work:
Plug in the connecting cable to your camera and to the computer.
Turn on your camera and switch to the mode which enables communication with a computer.
Run gtkam. This may be from a menu (in RedHat, it's → → → )(in Debian, it's → → ). Otherwise, typing gtkam from the command line should start the application.
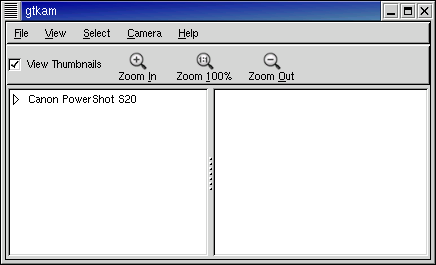
If all is well, and your camera has been added previously, you should see your camera listed in the left frame with a plus sign in a box to the left.
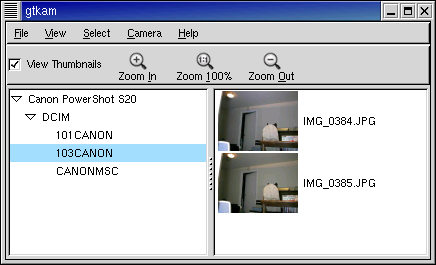
Click on the plus sign (v.0.1.3) or the arrow (v.0.1.9) to expand the listings of directories. The number in brackets to the right of the directory name is the number of images detected in that directory.
Click on directory containing images, and you should see a listing of the images in the right frame.